Share
Share

Making authentic chenna poda at home is often seen as an impossible challenge because the traditional recipe relies entirely on the dying embers of a wood or charcoal fire. This slow roasting process gives the sweet its signature dark crust and a wonderfully smoky undertone. Trying to replicate this intense ambient heat on a regular gas stove simply does not work and usually results in a ruined pan. Moving the baking process into an Usha OTG changes everything. The powerful heating elements and precise temperature controls allow you to mimic that slow roasting environment perfectly. You get that beautiful dark exterior and a soft crumbly centre without having to build a fire in your backyard. It is the absolute best way to bring this cherished Rath Yatra offering into a modern kitchen.
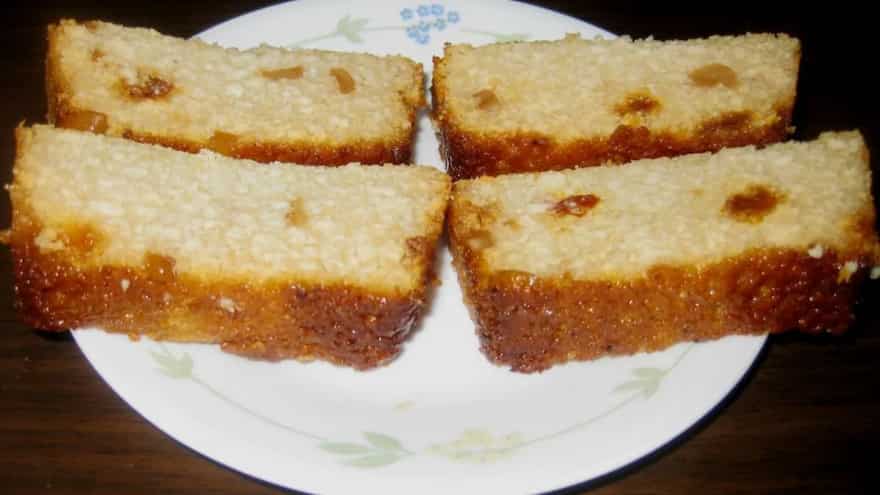
Image credit: Wikimedia Commons
Preparing The Fresh Cheese Base
The entire texture of this dessert depends on starting with very fresh and slightly moist cheese. Bring a litre of full fat milk to a rolling boil in a heavy bottomed pan, then lower the heat completely. Gradually stir in a few spoonfuls of fresh lemon juice or diluted vinegar until the milk separates into solid curds and clear greenish whey. Turn off the heat immediately and strain the mixture through a clean muslin cloth. Wash the curds thoroughly under cold running water to remove any lingering sourness from the lemon. Squeeze the cloth gently to drain the excess water, but make sure to leave the cheese slightly damp. If the chenna is completely dry, your final baked dessert will turn out very hard.
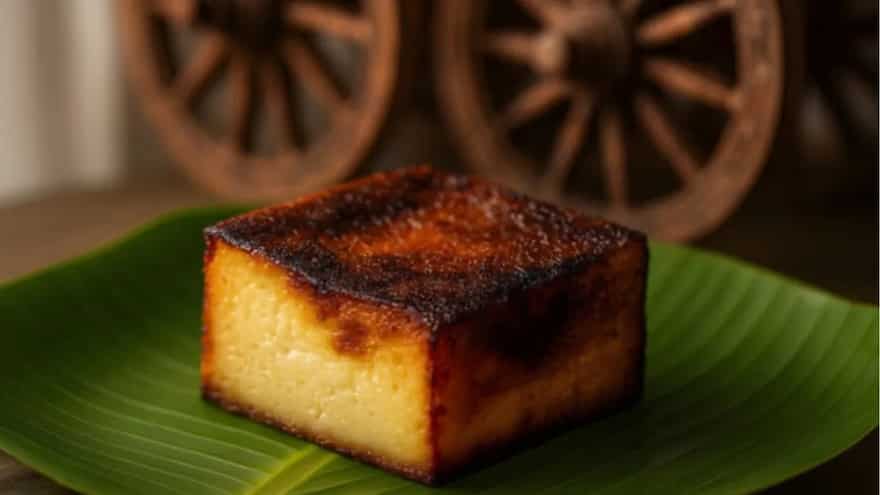
Image credit: Adobe Stock
If you don’t have Usha’s OTG, Shop Now 
Kneading The Sweet Dough
Transfer your fresh damp cheese to a large mixing bowl and begin mashing it using the heel of your hand. You want to knead it for about five minutes until the crumbly curds break down into a smooth and uniform paste. Once the cheese is soft, fold in half a cup of sugar, two tablespoons of fine semolina, and a generous pinch of crushed cardamom seeds. The semolina is absolutely crucial here because it absorbs the excess moisture from the sugar and helps give the dessert its signature spongy structure. If the mixture feels a bit too stiff at this point, stir in a spoonful of milk to loosen it up into a thick cake batter consistency. Toss in a handful of chopped cashew nuts and raisins for added texture before baking.
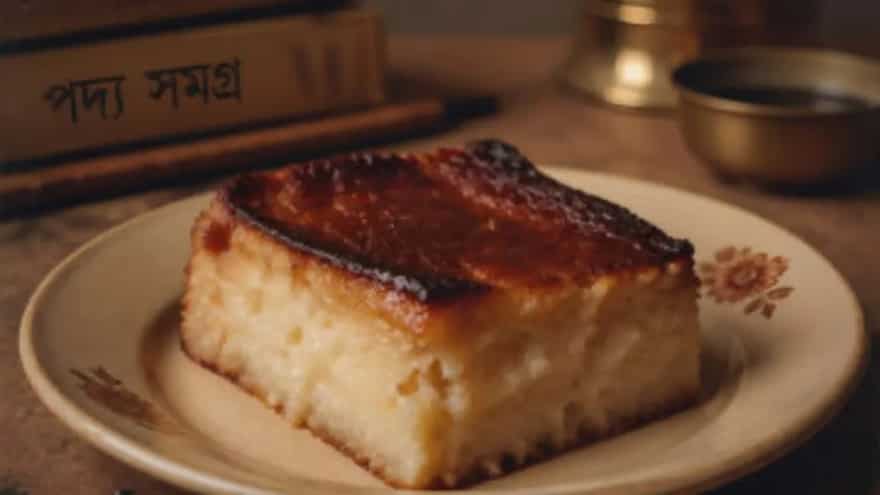
Image credit: Adobe Stock
Caramelising The Sugar Base
The defining feature of this sweet is its deeply roasted and blackened outer crust. To achieve this in a home oven, you need to create a quick caramel base directly in your baking tin. Sprinkle two tablespoons of white sugar evenly across the bottom of a round aluminium cake tin and place it on the stove over low heat. Let the sugar melt down completely until it turns a dark amber colour, swirling the tin gently so it coats the base evenly. Turn off the heat and let this sticky caramel layer cool and harden for a few minutes. Grease the sides of the tin with a generous amount of fresh ghee to stop the cheese mixture from sticking as it bakes.
Slow Baking In The OTG
Preheat your countertop oven to a moderate temperature, ensuring both the top and bottom heating elements are turned on. Pour your prepared cheese batter directly over the hardened caramel base in the tin and tap it gently on the counter to remove any trapped air bubbles. Slide the tin onto the middle rack of the oven and let it bake for about forty to fifty minutes. The direct heat from the lower elements will melt the caramel base into the bottom of the cheese to create a dark and sticky crust. The circulating dry heat slowly bakes the interior, causing the semolina to swell and set the dessert into a firm cake. You will know it is ready when a skewer inserted into the centre comes out completely clean and the top develops a rich brown colour.
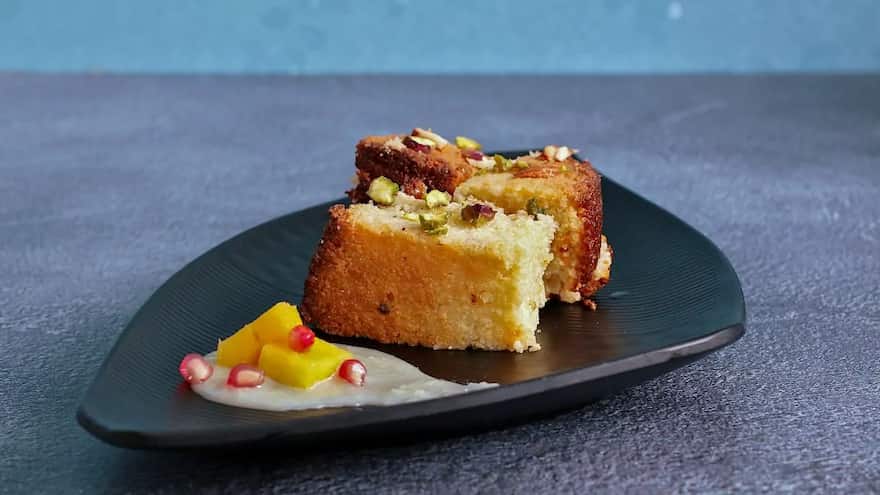
Image credit: Wikimedia Commons
Cooling Before Slicing
It is incredibly tempting to dig right in as soon as the sweet comes out of the oven, but you must let it cool completely first. The molten cheese structure is very fragile while hot and will fall apart entirely if you try to remove it from the tin too early. Turn off the oven, leave the door slightly ajar, and let the tin sit inside for at least an hour. This slow cooling process allows the starches to firm up perfectly and helps the caramel base detach cleanly from the aluminium pan. Once it reaches room temperature, invert the tin carefully onto a flat plate. The dark, glossy caramel crust will sit beautifully on top, ready to be sliced into wedges and served as a very special festive treat.