


The on-the-go nutriblender by Usha makes healthy living easier, but if it does not get cleaned properly, there can be stubborn stains, odours, and even bacteria on it, making it an antithesis of healthy living. Kitchen appliances require careful cleaning to sustain their shelf life and also to ensure that the bacteria on it is not harming us. However, careful cleaning does not mean you have to scrub it for hours.
With a few smart and quick techniques, you can clean your on-the-go nutriblender in under 60 seconds, even on your busiest days, and increase its shelf life, continuing its amazing performance. Here are some quick tips to follow and mistakes to avoid to keep your on-the-go nutriblender on its toes and accompany you on your healthy living journey.
If you don’t have Usha’s on-the-go Nutriblender, Shop Now 
Rinse Immediately After Use
The easiest way to keep the nutriblender clean is to wash it immediately after you use it. To clean it, fill the blending cup halfway with warm water, and add a drop of washing liquid to it. Secure the blade and then blend it for about 10-15 seconds. This will help in taking away any remaining residue in the blending cup. Once this is done, rinse it under running water. This ensures that no food is sticking inside the cup and you do not have to waste hours later scrubbing it out. Within 60 seconds, your on-the-go nutriblender is clean and ready to be reused.

Use Baking Soda For Stubborn Stains
Some food items, like spices, leafy greens, can leave a strong odour. To remove the strong smell, you need to try this quick hack that will not only remove stains but also leave a fresh smell. To clean this, add a teaspoon of baking soda to the blending cup along with some warm water. Blend it for 10-15 seconds and again rinse it well with running tap water. All the strong odours will vanish with this trick, and your on-the-go nutriblender will smell fresh and appear stainless.

Deep Clean Once A Week With Vinegar
For a weekly deep clean, use vinegar to tackle any hidden buildup. Fill the blending cup halfway with warm water, add two tablespoons of white vinegar and a drop of washing-up liquid. Blend for 30 seconds, then rinse thoroughly. Vinegar is a natural disinfectant that breaks down grease and bacteria. If you deep clean using this method once a week, you will not have to waste hours scrubbing your Usha on-the-go nutriblender from time to time.
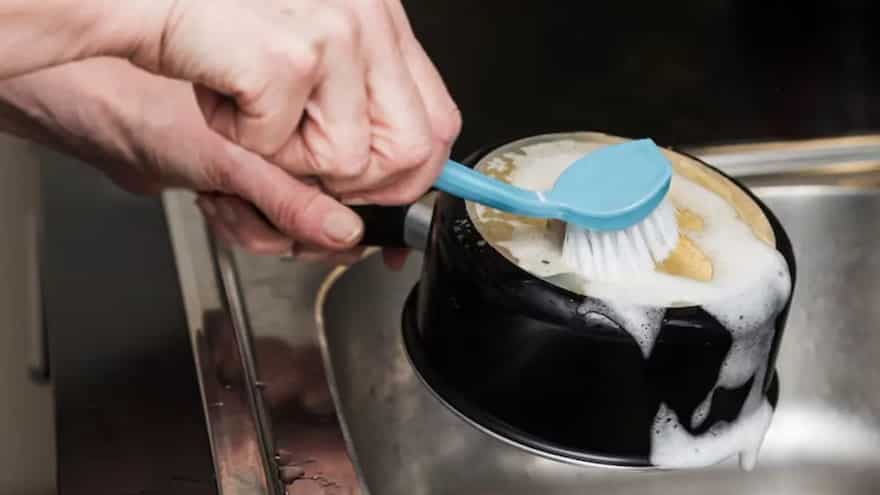
Clean The Blades And Dry Thoroughly Before Reassembling
The blades are the trickiest part to clean, but you cannot leave them behind, as food gets attached to them all the time. To clean the blades, detach the blade assembly and scrub them gently using a soft brush or toothbrush. Avoid coarse pads as they can dull the blades. Always handle with care to prevent accidental cuts while cleaning.
Once cleaned, let all parts air-dry completely before reassembling. This prevents the development of mould in tight spaces. If you are in a rush, wipe them dry with a clean microfibre cloth.
Mistakes To Avoid When Cleaning Your On-The-Go Nutriblender
- Leaving it unwashed for hours: Dried-on smoothie residue is harder to clean and can cause staining. Always rinse immediately after use.
- Submerging the motor base in water: Only the blending cup and blade assembly are washable. Wipe the motor base with a damp cloth and never immerse it in water.
- Using harsh chemicals or coarse scrubbers: These can scratch surfaces and damage seals. Stick to mild washing-up liquid, vinegar, and baking soda.
- Not checking the gasket seal: Food often gets trapped around the rubber gasket. Remove and clean it gently to avoid build-up and unpleasant smells.
- Reassembling while wet: Moisture trapped in joints can encourage mould growth. Always ensure all parts are fully dry before you reassemble them.


