


Picture this: a warm, golden loaf of bread fresh out of the oven, its tantalising aroma wafting through your kitchen. The secret behind achieving that perfect rise lies in understanding the enigmatic world of yeast. In this article, we will explore the magic of yeast and share valuable tips to ensure successful bread rising every time. Get ready to embark on a delicious journey!
Also Read: Top 5 Bread Maker For Modern Kitchens
Video Credits: Anyone can cook with me | Youtube
Understanding the Role of Yeast
Before we dive into the tips and techniques, let's first understand the crucial role yeast plays in bread baking. Yeast is a microscopic single-celled organism that feasts on sugar and releases carbon dioxide gas. This gas gets trapped in the dough, causing it to rise and giving bread its light, airy texture. Yeast also adds depth and complexity to the flavour profile of the bread.
Selecting the Right Yeast
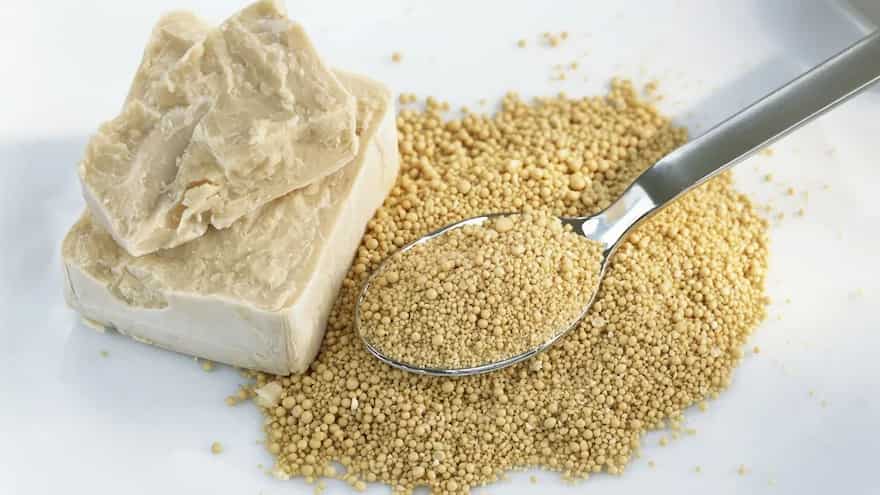
1. Active Dry Yeast: This popular form of yeast requires activation in warm water before use. It is known for its long shelf life and is easily accessible.
2. Instant Yeast: Also known as rapid-rise yeast, this type can be added directly to the dough without prior activation. It offers convenience and quick rising times.
3. Fresh Yeast: Often found in refrigerated sections, fresh yeast contains more moisture and has a shorter shelf life. It provides excellent flavour and is a preferred choice among professional bakers.
Mastering the Ingredients
1. Flour: Opt for high-quality bread flour with a high protein content, such as all-purpose or bread flour. This ensures proper gluten development, resulting in a better rise.
2. Liquid: Water is commonly used in bread recipes, but experimenting with other liquids like milk or buttermilk can yield different textures and flavors.
3. Sugar and Salt: Yeast thrives on sugar, which acts as its food source. Adding sugar in moderation provides nourishment to the yeast without overpowering the taste. Salt, on the other hand, enhances the flavor and helps regulate yeast activity.
Tips for Successful Bread Rising
1. Activate the Yeast: For active dry yeast, dissolve it in warm water (around 110°F/43°C) with a pinch of sugar to kickstart the activation process. Let it sit for 5-10 minutes until it becomes frothy and bubbly.
2. Proper Kneading: Kneading dough develops gluten, which creates the structure necessary for a good rise. Work the dough until it becomes elastic, smooth, and springs back when gently pressed.
3. Optimal Rising Conditions: Yeast thrives in a warm environment. Place your dough in a draft-free area with a temperature around 75-85°F (24-29°C). Cover it with a clean cloth or plastic wrap to retain moisture.
4. Slow Fermentation: For enhanced flavor and texture, consider a long, slow fermentation process. Refrigerate the dough overnight, allowing the yeast to work its magic slowly. The result will be a more complex and delicious bread.
5. Steam and Moisture: While baking, introduce steam into the oven by placing a pan filled with hot water on the lower rack. The steam creates a moist environment, promoting oven spring and a beautiful crust.
6. Avoid Overproofing: Be mindful not to let your dough rise for too long. Over Proofing can lead to collapsed loaves and a loss of texture. Keep an eye on the dough and look for signs of a doubled volume.
Troubleshooting Common Issues
1. Flat Bread: Insufficient yeast activity or improper rising conditions may cause flat bread. Ensure your yeast is fresh and active, and double-check the temperature during rising.
2. Dense Texture: Inadequate gluten development can result in a dense texture. Proper kneading and giving the dough enough time to rise will help address this issue.
3. Yeast Inactivity: If your dough fails to rise, your yeast might be inactive or past its prime. Always check the expiration date and activate the yeast in warm water before proceeding.
Now armed with a deeper understanding of yeast and the invaluable tips for successful bread rising, you are ready to bake bread that will impress your family and friends. Remember to experiment, have fun, and embrace the journey of creating delicious, homemade bread. Get your apron on and let the yeast work its magic!


