Share
Share

Mastering the art of the perfect pavlova often feels like an intimidating culinary challenge reserved only for professional pastry chefs. The dessert was actually named after the Russian ballerina Anna Pavlova following her tours of Australia and New Zealand in the 1920s, with the light and airy baked meringue specifically designed to mimic the delicate layers of her stage tutu. Many home bakers shy away from this spectacular dessert because achieving that elusive combination of a crisp outer shell and a deeply chewy marshmallow centre requires absolute precision. The secret to a flawless meringue lies entirely in controlling the humidity and maintaining a steady low temperature throughout the long baking process. Bringing a reliable Usha OTG into your kitchen completely eliminates the guesswork and stress usually associated with baking delicate egg whites. The consistent dry heat circulation inside the countertop oven ensures your dessert dries out perfectly without taking on any unwanted brown colour. Once you understand the basic science behind whipping sugar into egg whites and rely on precise temperature control, creating this elegant dessert becomes an incredibly rewarding weekend project.
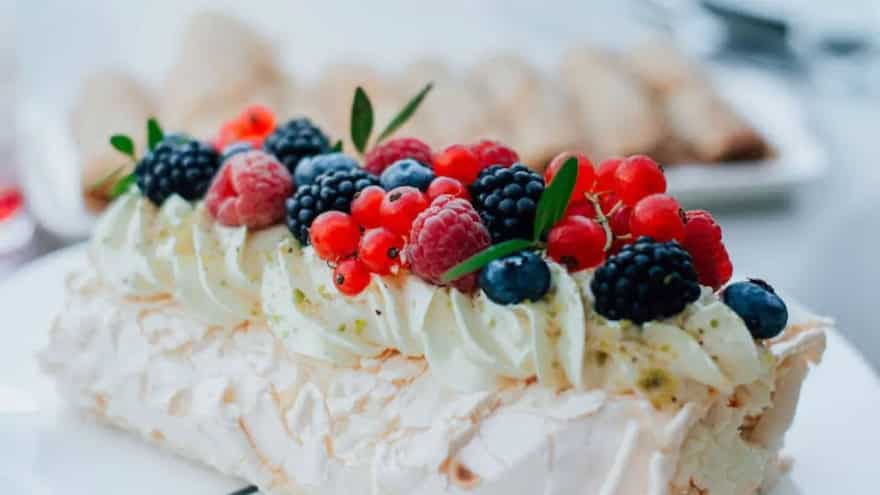
Image credit: Pexels
Preparing The Meringue Base
Building a structurally sound pavlova begins long before you even turn on your oven. You must start with fresh egg whites that have been separated carefully and left to reach room temperature to achieve the absolute maximum volume when whipped. Ensure your glass or metal mixing bowl is completely free of any residual grease by wiping the interior thoroughly with a wedge of fresh lemon. Beat the egg whites on a medium speed until soft peaks form and the mixture looks like fluffy clouds. Begin adding your fine caster sugar incredibly slowly, sprinkling in just one spoonful at a time while whisking continuously. You must wait for the sugar crystals to dissolve completely before adding the next spoonful, which you can test by rubbing a small amount of the mixture between your fingertips. Continue beating until the meringue becomes exceptionally thick, heavy, and glossy white. Finally, fold in a small amount of white vinegar and cornflour using a flat silicone spatula. This crucial final step stabilises the delicate protein structure and guarantees that signature chewy interior.
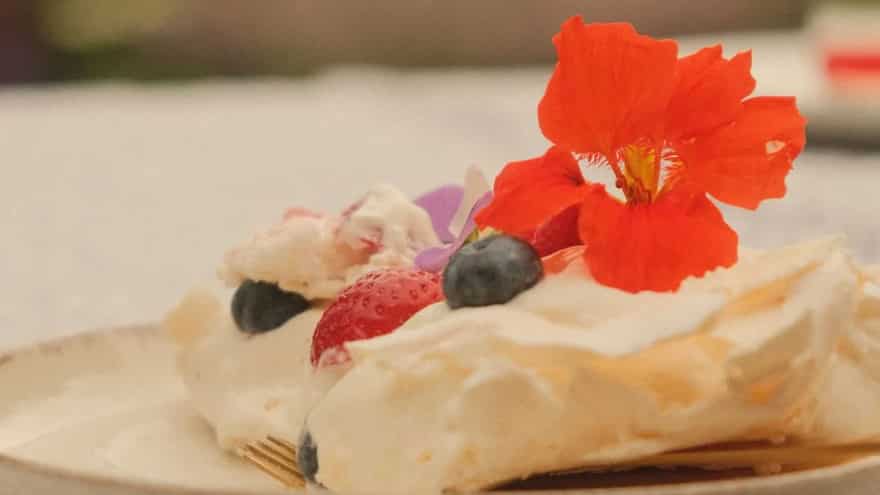
Image credit: Pexels
If you don’t have Usha’s OTG, Shop Now 
Baking With Precise Heat
Preheat your countertop oven to 120 degrees Celsius while you finish whipping your egg whites. Spread the stiff glossy meringue onto a heavy baking tray lined with high quality non stick parchment paper. Use the back of a large spoon to shape the mixture into a neat circle, making sure to build up the sides slightly to create a shallow dip in the centre that will hold your cream and fruit toppings later. Lower the temperature setting to 100 degrees Celsius immediately after placing the tray inside the oven. Bake the meringue completely undisturbed for about ninety minutes. You absolutely must not open the oven door during this long cooking period because sudden draughts of cool air will cause the delicate shell to collapse instantly. Once the baking time is complete, turn off the heat and leave the pavlova inside the closed oven until it cools down completely. This slow cooling process prevents the brittle outer shell from experiencing thermal shock and cracking abruptly.
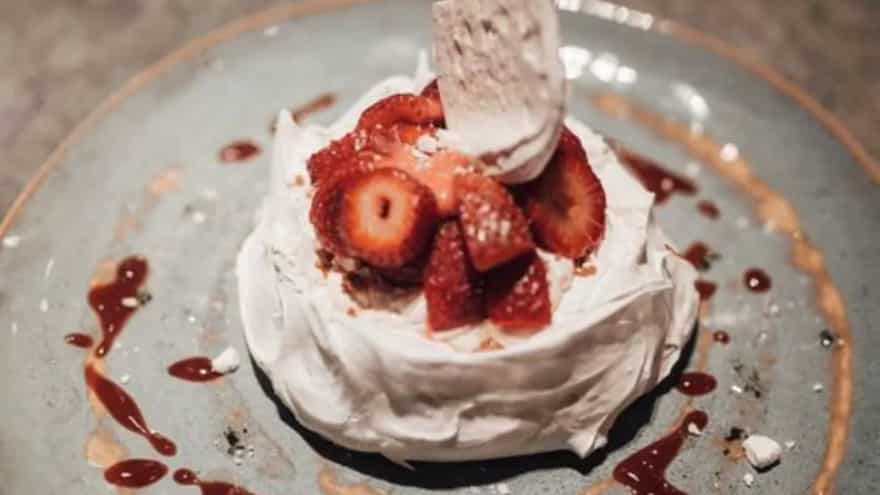
Image credit: Pexels
Creating The Whipped Topping
A rich and lightly sweetened dairy topping provides a necessary contrast to the highly concentrated sugar of the baked meringue base. Pour cold heavy double cream into a chilled glass or metal mixing bowl to ensure it holds its shape beautifully. You can use your Usha hand mixer on a medium speed setting to whip the cold cream into soft and billowy peaks in just a few short minutes. Add a teaspoon of pure vanilla extract and a tiny spoonful of sifted icing sugar to give the cream a subtle and elegant flavour. It is incredibly important to avoid overbeating the heavy cream so it remains wonderfully light, silky, and easily spreadable. The cream should drape softly off your spoon rather than standing up in stiff and rigid clumps.
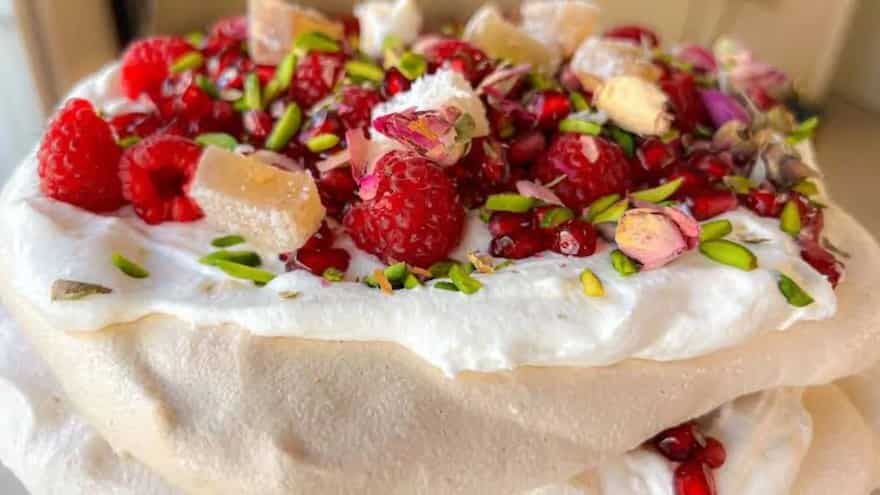
Image credit: Pexels
If you don’t have Usha’s Hand Mixer, Shop Now 
Assembly And Fruit Garnish
Move the completely cooled baked meringue base to a completely flat serving platter very carefully using two large spatulas. Spoon the freshly whipped vanilla cream generously into the sunken centre crater you created before baking, allowing it to spill slightly over the crisp edges. Top the soft cream layer with a highly vibrant selection of fresh seasonal fruits. Tart berries, sharply sliced kiwi, and the tangy pulp of fresh passion fruit work exceptionally well because their natural acidity cuts through and balances the overall intense sweetness of the dessert perfectly. You should assemble and garnish the pavlova immediately before bringing it to the dining table to ensure the crisp baked shell retains its perfect shattering texture and does not dissolve under the moisture of the cream.