


Mastering the art of the grill no longer requires a sprawling garden setup or a bag of briquettes. With the right approach, you can achieve that sought-after smoky char and tender interior right from your kitchen counter. Using an Usha infrared cooktop provides the intense, radiant heat necessary to mimic a traditional grill, offering a level of temperature control that ensures your proteins are cooked to professional standards every time. Unlike induction or gas, the direct energy of infrared technology penetrates the meat more efficiently, sealing in juices while developing a robust exterior crust. By understanding the specific needs of different meats, you can turn a simple weeknight dinner into a sophisticated culinary event.
Precision Searing For Chicken Thighs
Chicken requires a careful balance of high heat for skin texture and moderate heat to ensure the meat is cooked through to the bone. When using an infrared cooktop, it is best to start with bone-in, skin-on thighs to take full advantage of the radiant heat. Place your chicken skin-side down on a preheated grill pan; the infrared energy will quickly render the fat, resulting in a brittle, golden-brown skin that acts as a protective layer for the meat. Once the skin is crisp, reduce the power setting to allow the heat to migrate through the meat more gently. This two-stage approach prevents the exterior from burning before the centre reaches the safe internal temperature of 75 degrees Celsius, ensuring a succulent result.
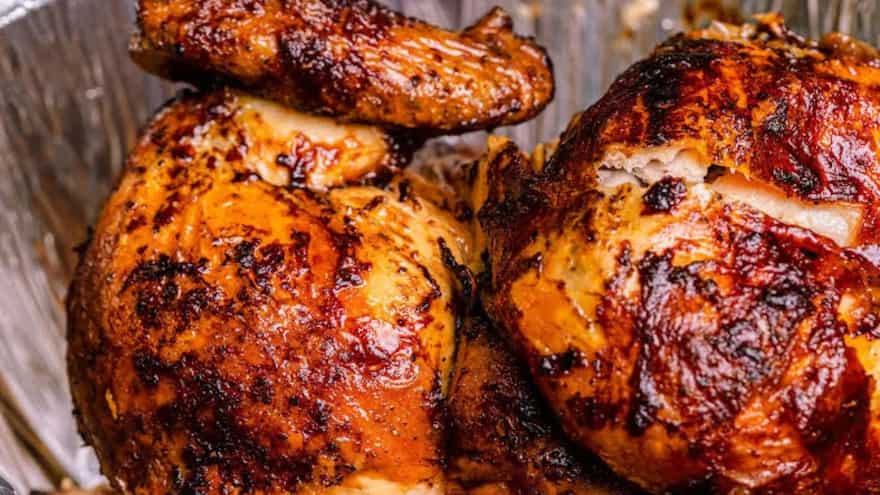
Image credit: Pexels
If you don’t have Usha’s Infrared Cooktop, Shop Now  .
.
High-Heat Management For Tender Mutton
Mutton and lamb possess a higher fat content and a denser grain than poultry, meaning they thrive under the intense, focused energy of an infrared surface. For the best results, opt for chops or loins that have been brought to room temperature before they hit the pan. Set your cooktop to a high power level to create an immediate sear that locks in the natural oils and develops a complex, savoury crust. Because mutton can become tough if overcooked, the rapid response of an infrared cooktop allows you to pull the meat off the heat the moment it reaches a perfect medium-rare. A quick flash-sear on the fatty edges is also recommended to render the suet, adding a deep, buttery dimension to the final flavour profile.
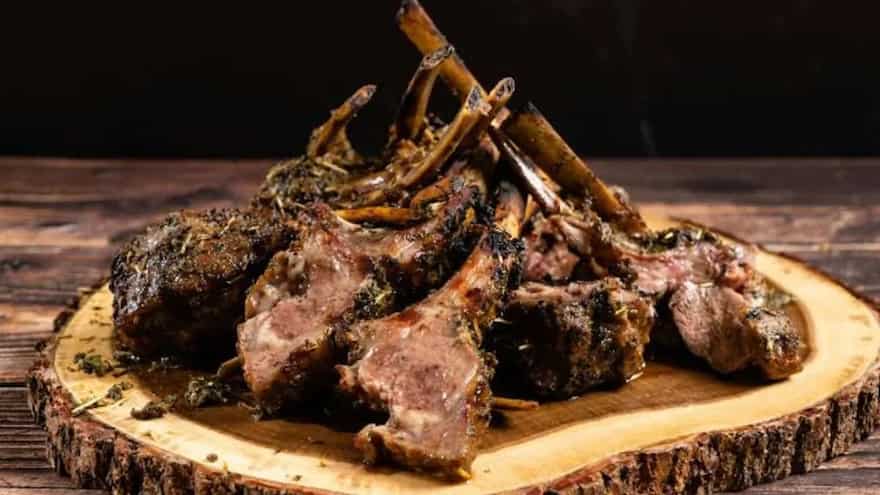
Image credit: Pexels
Caramelisation Techniques For Pork Chops
Pork, particularly leaner cuts like centre-cut chops, benefits immensely from the consistent heat distribution of an infrared cooktop. To avoid the common pitfall of dry pork, utilise a marinade with a small amount of sugar or honey; the infrared rays are exceptionally good at caramelising these sugars without the uneven hot spots found on traditional stoves. Aim for a medium-high setting that allows the sugars to toast into a deep mahogany glaze while the meat remains tender. The cooktop's ability to maintain a rock-steady temperature means you can achieve a uniform cook across the entire surface of the chop, eliminating the frustration of raw centres or burnt edges.
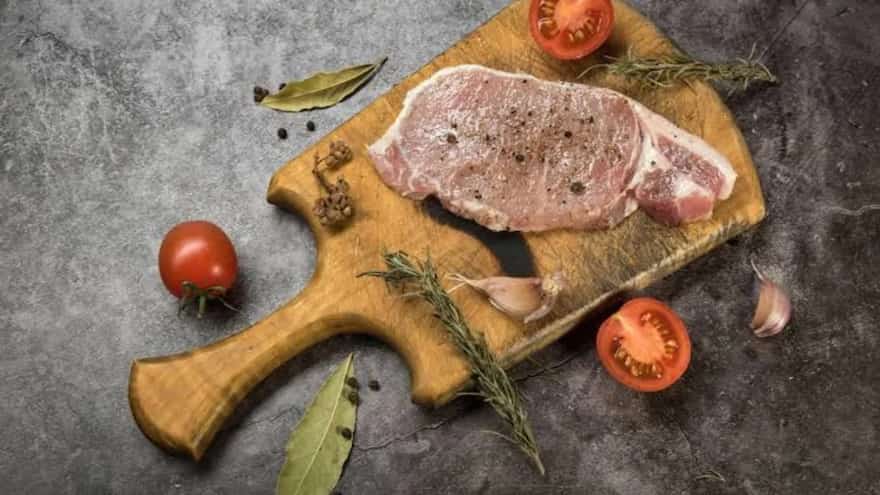
Image credit: Pexels
Selecting The Right Grilling Hardware
The success of infrared grilling is heavily dependent on the cookware you choose to bridge the gap between the heat source and the protein. For an authentic grilled finish, a heavy-bottomed cast iron or die-cast aluminium grill pan with deep ridges is essential. These ridges allow the meat to sit above the rendered fat, creating the distinct sear marks and "smoky" flavour associated with outdoor barbecues. Ensure the pan is completely flat on the bottom to allow for maximum infrared energy transfer. The radiant heat will warm the iron significantly more efficiently than a standard coil, providing the thermal mass needed to sear multiple batches of meat without a drop in temperature.
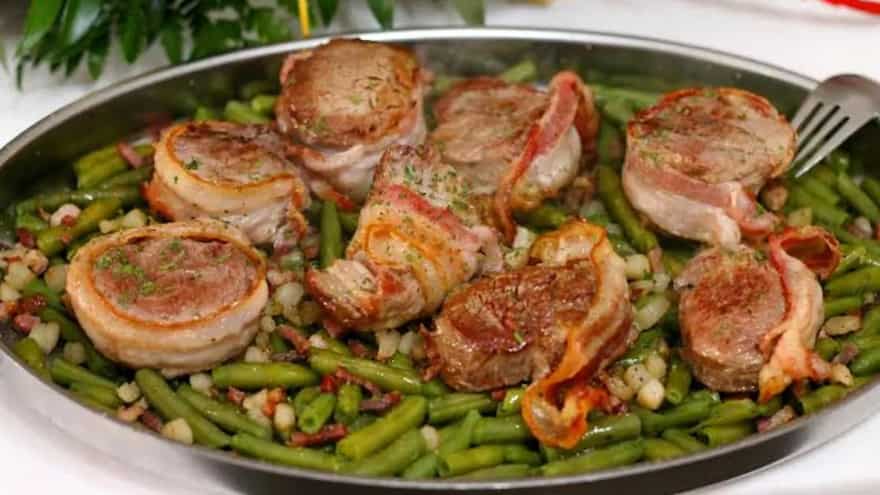
Image credit: Pexels
The Critical Resting Phase
Perhaps the most overlooked step in grilling is the rest, which is vital when using the high-intensity heat of an infrared cooktop. Because infrared energy is so efficient at heating the core of the meat, the internal juices are under significant pressure during the cooking process. Once you remove your chicken, mutton, or pork from the pan, transfer it to a warm wooden board and tent it loosely with foil for at least five to ten minutes. This allows the muscle fibres to relax and reabsorb the juices, ensuring that every slice is moist and flavourful. This final step is what separates a home-cooked meal from a professional-grade dish, providing a refined finish to your indoor grilling efforts.


