Share
Share

The process of transforming raw nuts or seeds into a velvety nut butter is surprisingly rewarding, and it all begins with a handful of nuts or seeds. However, roasting them properly is an important step before blending them into that spreadable, creamy perfection. When cooked to the ideal temperature, nuts and seeds release their natural oils, making for a spread that is silkier and creamier while bringing out a fuller range of flavours.
The smart Usha Air Fryer makes roasting easy; just remember to keep an eye on the heat and timing for the best results. After roasting and cooling your nuts or seeds, you can use a hand blender to transform them into a smooth and creamy butter. Remember these easy tips the next time you're all set to whip up your own batch.
1. Start With Fresh, Evenly Sized Nuts Or Seeds
The better your starting ingredients, the better the final nut butter. Choose fresh nuts or seeds without any stale or rancid smell, and remove any damaged pieces before roasting. If you are using a mix, try to choose ingredients that are similar in size so they roast more evenly. Almonds, peanuts, cashews, walnuts and seeds such as sunflower or pumpkin seeds can all bring a different flavour and texture to your homemade spread.
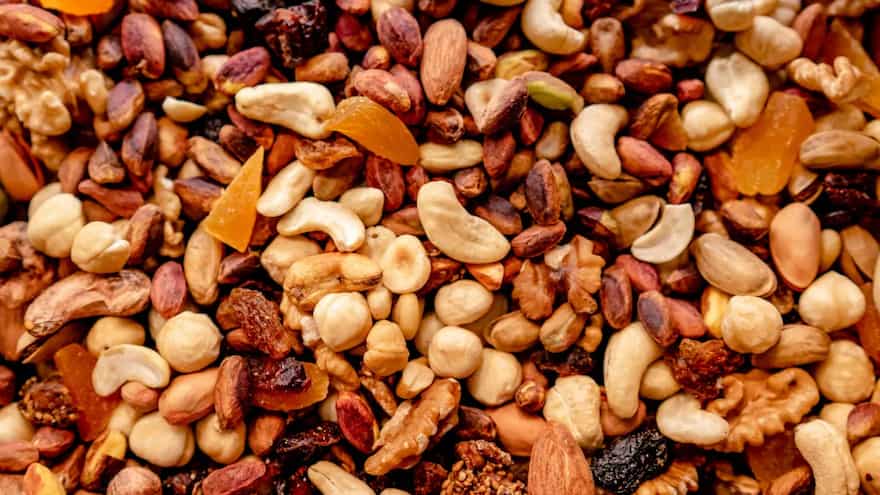
Image Credit: Canva Library
Your Kitchen Needs Usha’s Air Fryer, 
2. Don’t Overcrowd The Air Fryer Basket
Nuts and seeds need room for the hot air to circulate around them. Spread them in as even a layer as possible rather than piling them into the basket. This is particularly useful for smaller seeds, which can roast quickly and may end up unevenly browned if the basket is overcrowded. If you are making a larger batch, roast in smaller quantities instead of trying to fit everything in at once.
3. Keep The Temperature Moderate
Nuts and seeds can go from lightly roasted to burnt surprisingly quickly, so a moderate temperature is your friend. Start with a shorter cooking time and check them midway through rather than leaving them unattended. Give the basket a little shake or stir the nuts occasionally to help them brown more evenly. You are looking for a pleasant roasted aroma and light browning, not a dark, bitter finish.
4. Let Them Cool Before Blending
This is an easy step to overlook when you are eager to get to the good part. Once the nuts or seeds are roasted, allow them to cool before transferring them for blending. Hot ingredients can affect the consistency of your nut butter and make handling the mixture more difficult. Cooling also gives you a chance to check the batch and remove any pieces that have become overly browned.
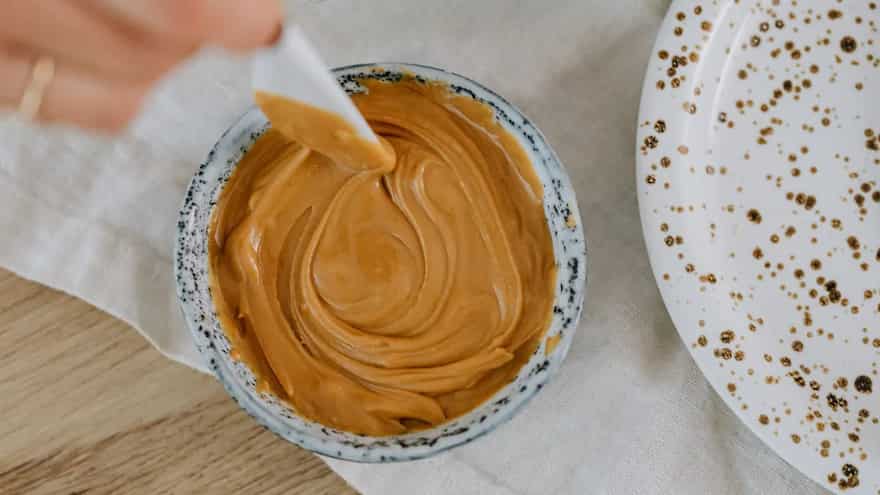
Image Credit: Pexels
5. Blend In Stages For A Smoother Butter
Once cooled, transfer the roasted nuts or seeds to a suitable blending container and start processing them with the hand blender. The mixture may first look crumbly before gradually becoming more paste-like as the natural oils are released. Scrape down the sides between pulses if needed and continue blending until you reach your preferred consistency. Avoid rushing this stage — a little patience can take your mixture from coarse and grainy to creamy and spreadable.
Your Kitchen Needs Usha’s Hand Blender,
6. Add Flavours After The Basic Butter Comes Together
Once you have your basic nut or seed butter, you can have some fun with it. A pinch of salt can sharpen the flavour, while cinnamon can add warmth to almond or cashew butter. For a sweeter version, you could add a little honey or another sweetener. If you like savoury spreads, chilli flakes or a touch of roasted garlic can work beautifully. To change the taste without altering the roasting process, add these towards the end.
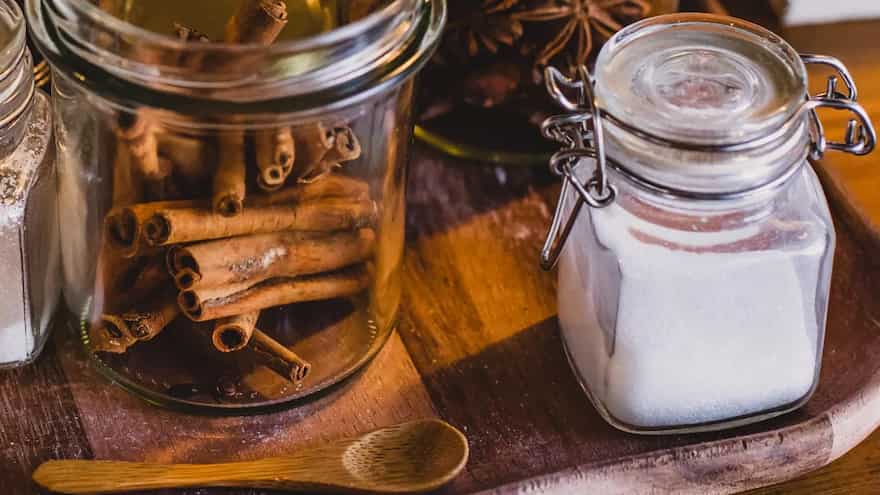
Image Credit: Pexels
A Few Tips For Better Homemade Nut Butter
- If one batch of homemade nut butter takes slightly longer to get creamy than another, that's okay. The consistency might vary depending on the nuts or seeds you use.
- Avoid adding a lot of liquid all at once if you find that the mixture is too thick; instead, keep mixing it.
- Use a dry spoon every time you scoop out a spoonful of nut butter and store it in a clean, airtight container.