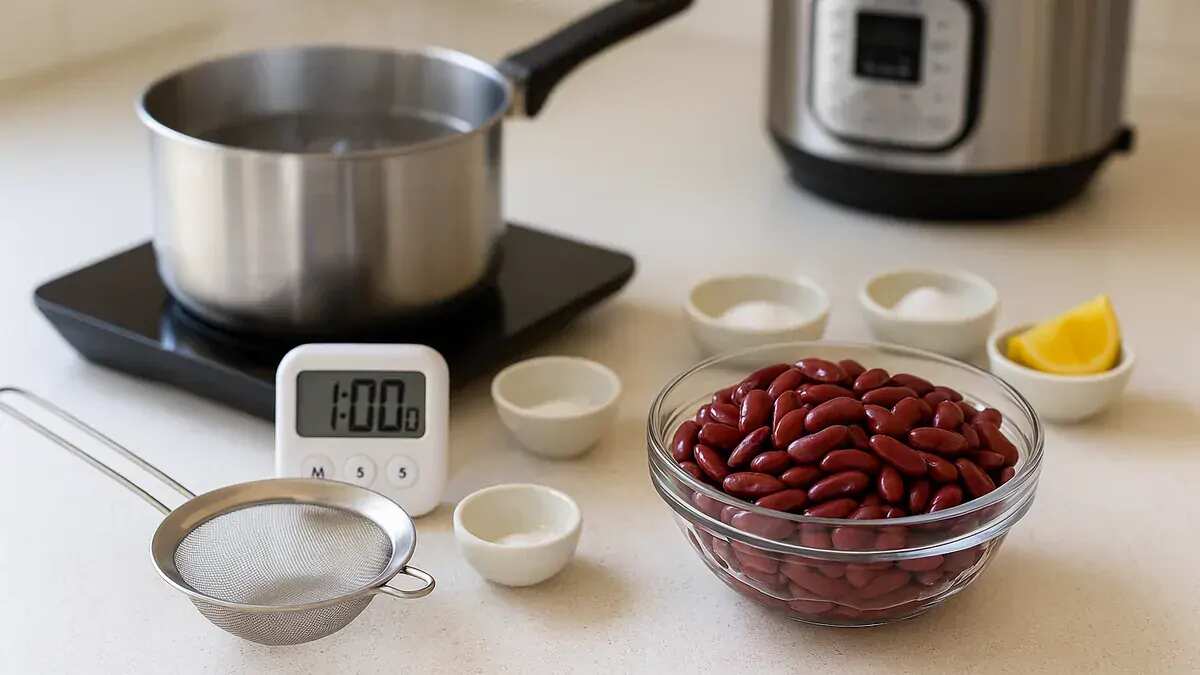
Forgot to soak rajma? You can still get creamy kidney beans tonight.
Method (the whole trick): boil dried rajma for 2 minutes, cover and rest off-heat for 60 minutes, then drain/rinse and pressure-cook in fresh water—with the timings and fixes below.
Quick-Soak Rajma In 1 Hour
Quick-soak is brief boiling + a covered off-heat rest. It’s not simmering for an hour. The boil is just the spark; the rest is the slow, orderly part where hydration evens out.
Overnight soak vs quick-soak: Overnight is better insurance for very old beans, very hard water, or very large batches where you want maximum predictability. For reasonably fresh rajma, quick-soak is usually enough to pressure-cook to a creamy centre on a weeknight.
One-sentence summary to remember: “Boil 2 minutes, rest 60 minutes (covered), then cook in fresh water.”
Why it works (plain science, no lab coat): rajma is a dry seed with a seed coat around a starchy, protein-rich interior. Heat expands and loosens pathways in that structure so water can get in faster. Then, during the covered rest, diffusion continues—water moves from the outer layers toward the centre until the bean is more evenly hydrated. The lid matters because you’re trying to preserve warmth and stillness, not agitate skins into splitting.
1-Hour Quick-Soak: Step-By-Step Guide For Rajma
Step 1: Sort + rinse
- Spread rajma out and pick out stones and any debris.
- Remove split/broken beans if you can; they hydrate faster and can turn pasty while intact beans are still firm.
- Rinse well until the water runs less cloudy.
Step 2: Boil 2 minutes in plenty of water
- Put beans in a large pot and add plenty of water.
- Bring to a full boil, then boil 2 minutes (start counting once it’s truly boiling).
Water ratio callout (micro-example): For 1 cup rajma, use enough water to cover by at least 3–4 inches during quick-soak; use a large pot to give foam room.
Practical guardrails (so it doesn’t erupt on your stove):
- Use a pot with generous headspace; bean foam can climb.
- If foam threatens to crest, reduce heat slightly while keeping a steady boil for those 2 minutes.
Step 3: Cover and rest 60 minutes off-heat (no simmering)
- Turn off heat, cover tightly, and rest 60 minutes.
- Do not simmer during the hour; constant heat cooks the outside faster than the center hydrates.
- If your kitchen is cold, wrap the pot in a towel or park it in an unheated oven (door closed) to slow heat loss.
Step 4: Drain + rinse; reset with fresh cooking water
Drain and rinse once more, then move on to pressure cooking with fresh water.
Why bother draining? The soak water often carries foam, starch, and some “bean dust” that can dull flavor and make the pot harder to read (extra cloudiness/foaming). Fresh water gives you cleaner taste and more predictable simmering once you open the cooker.
Pressure-Cook Timing After Quick-Soak
After quick-soak, rajma is hydrated—not tender. Pressure cooking finishes the job by softening the bean’s structure all the way through.
General setup:
- Add beans to the cooker with enough fresh water to submerge by 1–2 inches.
- Don’t exceed your cooker’s max fill line.
Stovetop pressure cooker
Timing rule that prevents most confusion: start timing only after full pressure is reached—i.e., after the first strong whistle/steady venting begins (depending on your model).
- After quick-soak: cook rajma 12–18 minutes at pressure.
- Once at pressure, keep heat at medium to maintain pressure without violent venting.
- Let pressure drop with a natural release for 10–15 minutes, then open.
Electric pressure cooker / Instant Pot
Electric cookers generally run at a lower peak pressure than many stovetop cookers, so they need more time.
- After quick-soak: pressure cook on High 18–25 minutes.
- Prefer natural release 15–20 minutes.
About quick release: it can increase splitting in some batches because the contents depressurise abruptly; it’s not guaranteed, but if you want intact beans, natural release is the calmer path.
Doneness checks (use one bean as your witness)
- Squeeze test: cool a bean briefly, then press it. It should crush without a fight.
- Split-one-bean test (micro-example): split a bean. If the centre is pale and crumbly/chalky, it needs more time. If it’s uniformly creamy, you’re done.
If they’re still hard: rescue actions
- Add time in short increments:
- Stovetop: +3–5 minutes at pressure
- Electric: +4–6 minutes at pressure
- Confirm there’s enough liquid; low liquid can prevent proper pressure and risk scorching.
- Give a longer natural release/rest; carryover heat can finish the centre.
- Stir gently only after tender; aggressive stirring plus firm beans tears skins.
Apply this right away: Explore rajma, chana, and dried peas recipes.
Trouble spots and fixes (old beans, water, baking soda, salt/acid timing)
Most “my rajma won’t soften” mysteries are solved by two facts: beans age, and water has opinions.
Old beans
Signs: very long cook times, wrinkled skins, or a centre that stays firm/chalky even when the outside looks cooked.
Fixes:
- Extend the rest: quick-soak up to 90 minutes.
- Increase pressure time beyond the ranges:
- Stovetop: +5–10 minutes
- Electric: +8–12 minutes
- If a bag repeatedly refuses tenderness, it may simply be old stock; replacing it can be more efficient than burning an evening on “just five more minutes.”
Hard water
Hard water (calcium/magnesium) can slow softening by stabilising the bean’s cell-wall structure.
Fixes:
- Use filtered/RO water if available.
- If not, plan on extra time, and keep acids out until beans are mostly tender.
For background on minerals and cooking water, see Harvard’s overview of water hardness (context, not bean-specific).
Baking soda (use a scalpel, not a shovel)
A small amount of baking soda raises pH and can help with very old beans or hard water, but too much gives a soapy taste and can make skins fragile.
Guardrails:
- Start with 1/8 tsp baking soda per 1 cup dried rajma in the cooking water (not the soak).
- Only if needed, increase up to 1/4 tsp per cup.
This is consistent with guidance from America’s Test Kitchen on alkaline additions and bean softening (and the texture tradeoff): https://www.americastestkitchen.com/articles/560-how-to-cook-dried-beans
Salt and acid timing
- Salt: lightly salting the cooking water is generally fine; if you’re dealing with old beans, add salt after beans are mostly tender to remove variables.
- Acids (tomatoes, tamarind, lemon, vinegar): add after beans are mostly tender. Acidic conditions can slow softening, which is useful for crisp vegetables—and annoying for rajma.
Works For Chana & Dried Peas: Exact Adjustments
Same quick-soak steps (2-minute boil + 60-minute covered rest, then drain/rinse), but expect different pressure times.
- Chana (whole chickpeas):
- Stovetop after quick-soak: 15–22 minutes at pressure
- Electric after quick-soak: 25–35 minutes on High
- Size varies; rely on the split-one-bean test. (Black chana typically needs longer.)
- Whole dried peas: quick-soak helps most when peas are older and prone to uneven softening.
- Stovetop after quick-soak: 6–10 minutes at pressure for tender-but-intact peas
- Electric after quick-soak: 10–14 minutes on High
- Split peas: quick-soak is usually unnecessary and can push them toward mush. Prefer rinse-and-cook (they hydrate fast because the interior is exposed).
Planning legume meals? Check portions and nutrition with Nutrimeter.
Boil 2 minutes, rest 60 minutes off-heat, drain/rinse, then pressure-cook—and when in doubt, split one bean. If your batch runs long, it’s usually age, water, or cooker specifics, not personal failure.
For model- and altitude-specific troubleshooting, ask the Slurrp community.
Some parts of this article were created with AI assistance.