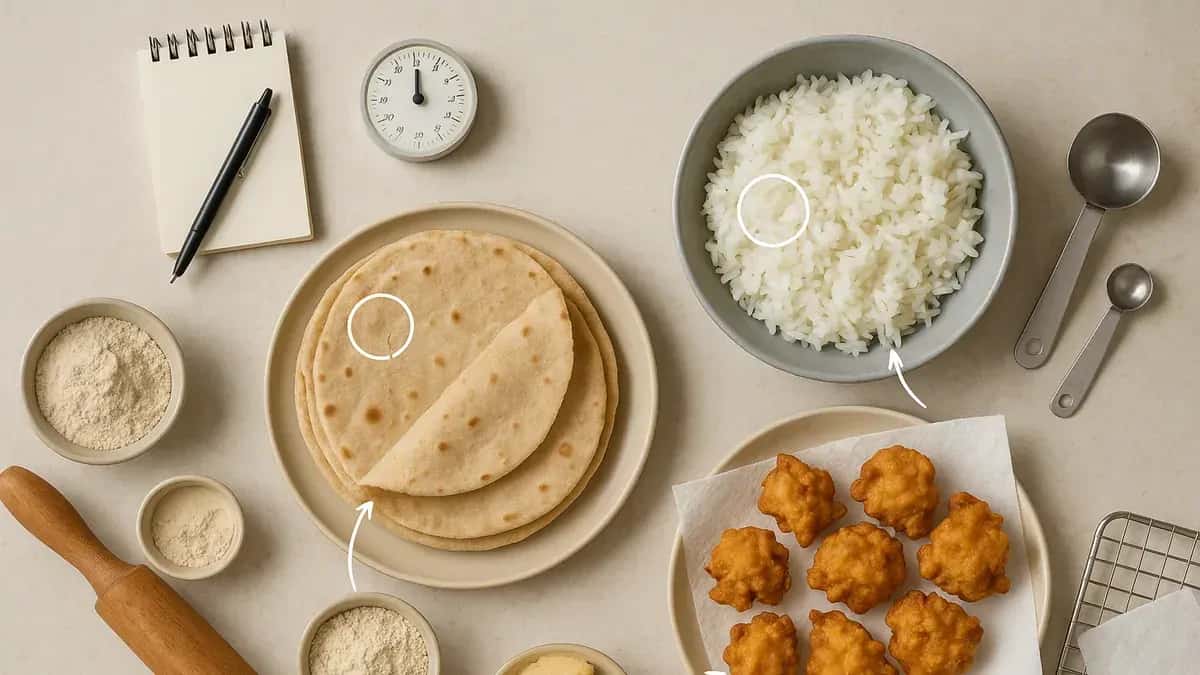
Three everyday staples, three repeat offenders: rotis that turn leathery, rice that collapses into a glossy clump, pakoras that go limp after the kadhai. This is not a recipe. It’s a clinic: symptom → likely cause → one clear fix, so you can get softer rotis, separate rice grains, and crisp pakoras today.
The Clinic Method: Diagnose The Symptom, Then Apply The Fix
Read like a doctor with flour on their hands:
- Start with the symptom cue (what you see/feel/hear).
- Pick the closest cause in that clinic.
- Apply one fix once on a small test portion (1–2 rotis, 1 cup rice, 6–8 pakoras).
That last point matters because these foods are all built from the same three “forces” (moisture, heat, timing). If you change three things at once, you’ll improve your luck—not your skill.
Kitchens vary (atta brands, rice harvests, humidity, stove strength). Trust cues over minutes.
Roti Clinic: Why Rotis Turn Hard (Causes → Fixes)
Hard rotis are often blamed on “not kneading enough.” More often, hardness is water management plus heat: a dough that can’t hold steam, or a tawa that leaks it away.
1) Symptom: Dough cracks at the edges while rolling; roti cooks up stiff
Likely cause: Dough too tight/dry.
Fix (hydration by feel):
- Aim for dough that’s soft and slightly tacky, not dusty. Press a finger in: it should leave an impression without tearing.
- Mid-way correction: wet your hands and knead in water gradually (a few drops at a time) until cracks stop and the surface smooths.
2) Symptom: Rotis shrink back or feel tight; they’re tough after cooking
Likely cause: Dough not rested.
Fix (minimum rest window):
- Rest 20–30 minutes after kneading.
- Keep covered so the surface doesn’t form a skin (lid, bowl, damp cloth).
Rest isn’t laziness—it’s physics: water migrates into dry spots, gluten relaxes, and you roll faster with less flour (which means less drying on the tawa).
3) Symptom: Rotis take long to show bubbles; they dry out before puffing
Likely cause: Tawa heat is wrong or you’re overcooking.
Fix (heat cues + flip timing):
- Preheat until a water droplet sizzles and skitters.
- Cook the first side only until it sets and shows bubbles, then flip.
- Cook the second side until it blisters; flip once more briefly to finish/puff (a gentle press can help steam inflate the centre).
If you keep it on “just to be sure,” you’re not cooking—you’re dehydrating.
4) Symptom: White, dusty rotis with a dry bite
Likely cause: Too much dry flour while rolling.
Fix (dusting discipline):
- Use the minimum flour needed to prevent sticking.
- Shake off excess from both sides before the tawa.
- If dough is very soft, lightly oil the rolling surface instead of adding more dry flour.
5) Symptom: Rotis are fine on the tawa, then turn hard in minutes
Likely cause: Storage/stacking mistake (open-air drying).
Fix (cover and stack):
- Stack hot rotis and keep them covered in a casserole/roti box or wrapped in a cloth.
- Optional: brush lightly with ghee—but the main fix is covering.
- Don’t “cool” them uncovered on a plate.
Rice Clinic: Why Rice Gets Mushy
Mushy rice is usually water + carryover cooking + stirring. Rice grains are little starch capsules; excess water and agitation encourage starch to leak out and glue everything together.
1) Symptom: Rice is glossy, clumps, and smears when pressed
Likely cause: Too much water for your method/variety.
Fix (choose a method first):
- Absorption method: start with slightly less water than you think you need, because varieties absorb differently. You can always add a spoonful mid-simmer if the pot looks dry and the grain still has a hard core.
- Draining method: boil in plenty of water, then drain when grains are just cooked. It’s often easier for separate grains, but it’s not magic—timing still matters.
2) Symptom: Rice seems done, then turns softer and wetter in the pot
Likely cause: Overcooking + carryover steaming.
Fix (switch-off timing + rest):
- Turn off heat when grains are just cooked through (no hard core), even if they feel a touch firm.
- Rest 5–10 minutes with the lid on to finish by steam.
- If condensation is dripping back and the rice looks wet, crack the lid for 30–60 seconds to vent.
3) Symptom: Rice breaks, turns starchy, or becomes paste-like
Likely cause: Too much agitation.
Fix (no-stir rule):
- Don’t stir once it reaches a simmer.
- After resting, fluff gently—lift and separate; don’t mash.
4) Rinsing/soaking: what actually helps separate grains
- Rinse when you want separate grains (especially basmati): it removes excess surface starch.
- Soak basmati if you want longer grains and slightly faster cooking; keep it modest so you don’t soften the grain before heat even enters the picture.
- For everyday short-grain, rinse if it’s dusty, but don’t over-soak if you want a firmer bite.
5) Quick salvage if it’s already mushy
- Spread rice on a wide plate/tray to steam off moisture and cool.
- Best reuses: fried rice (after cooling), curd rice, khichdi/congee-like bowls, or binding for cutlets.
Pakora Clinic: Why Pakoras Go Soggy (During Frying and After)
Pakoras go crisp when batter sets quickly into a crust. They go soggy when the crust forms slowly (cool oil) or when steam gets trapped after frying.
1) Symptom: Pakoras absorb oil and feel heavy; they don’t crisp
Likely cause: Oil not hot enough.
Fix (thermometer-free cues + heat management):
- Drop a tiny bit of batter: it should sizzle immediately and rise promptly.
- Look for steady, vigorous bubbling around each pakora.
- After each batch, let oil recover before adding more.
2) Symptom: Batter slides off; pakoras soften fast
Likely cause: Batter too thin or ingredients too wet.
Fix (thick cling + manage vegetable water):
- Batter should coat in a thick layer that clings, not run.
- Salt watery vegetables (onion, cabbage, spinach) just before frying, or salt earlier and squeeze out released water.
- Dust very wet pieces lightly with besan or rice flour before dipping.
Optional (not mandatory): a spoon of rice flour/cornflour can boost crispness.
3) Symptom: Pale, soft pakoras; crust breaks when you stir
Likely cause: Overcrowding and too much stirring.
Fix (batch sizing rule):
- Fry in batches so pakoras have space; oil should keep bubbling.
- Stir only after the crust starts setting.
4) Symptom: Pakoras were crisp, then went limp on the plate
Likely cause: Post-fry steaming.
Fix (drain and cool correctly):
- Drain on a rack (paper alone traps steam).
- Let them sit in open air for a minute before serving.
- If travelling, pack with ventilation; don’t seal hot pakoras in a tight container.
5) Re-crisp leftovers—fast
- Oven/air-fryer: heat until hot and crisp in short bursts; check often.
- Tawa: reheat on medium, turning, until the surface dries and re-crisps.
- Don’t microwave unless you want steam.
One more tool if you’re adjusting ghee/oil after you fix technique: try the Slurrp Nutrimeter.
The Pattern Behind Most Failures
Moisture: Steam is helpful when it’s trapped inside (roti puffing; rice finishing under a lid). It’s harmful when it’s trapped outside (covered pakoras; too-wet batter; rotis left uncovered).
Heat: High heat sets structure quickly (roti surface; pakora crust). Medium/low heat is for a gentle finish (rice simmer). Too-low tawa heat dries rotis before they puff; too-low oil heat turns batter into a sponge.
Timing/resting: Dough rest evens hydration and relaxes gluten; rice rest finishes cooking without agitation; post-fry rest on a rack lets steam escape without softening the crust.
Your 10-minute practice plan
- Make two rotis: change only one thing (rest the dough or reduce dusting flour or adjust tawa heat by the droplet cue).
- Cook 1 cup rice: pick absorption or draining, then commit—no stirring, and rest with lid on.
- Fry one small batch of pakoras: focus only on oil heat cues and draining on a rack.
Ready to apply this with real dishes? Go to Slurrp Recipes for rotis, jeera rice, and pakoras.
Conclusion
Use this like a clinic: match the symptom, change one variable, and trust cues over fixed minute counts. When something improves, keep that one change and move to the next bottleneck (moisture, heat, or timing). If your case doesn’t match the cues here, take a photo, note your atta/rice type and cookware, and ask the Slurrp Community for a targeted fix.
Some parts of this article were created with AI assistance.