Ditching store-bought cartons for a fresh batch of homemade coconut milk is one of the quickest ways to elevate your everyday cooking. Packaged versions are often full of artificial stabilisers and thickeners that leave a strange texture behind, completely masking the clean sweetness of the fruit. Preparing it traditionally used to mean a lot of manual scraping and messy squeezing through a cloth until your hands were tired. Bringing an Usha blender heater into your kitchen routine eliminates all that friction by combining controlled warming elements with high-speed blades. The machine does all the heavy lifting, allowing beginners to get a rich, velvety emulsion on the very first try without worrying about the liquid splitting.
Sourcing And Preparing The Coconut
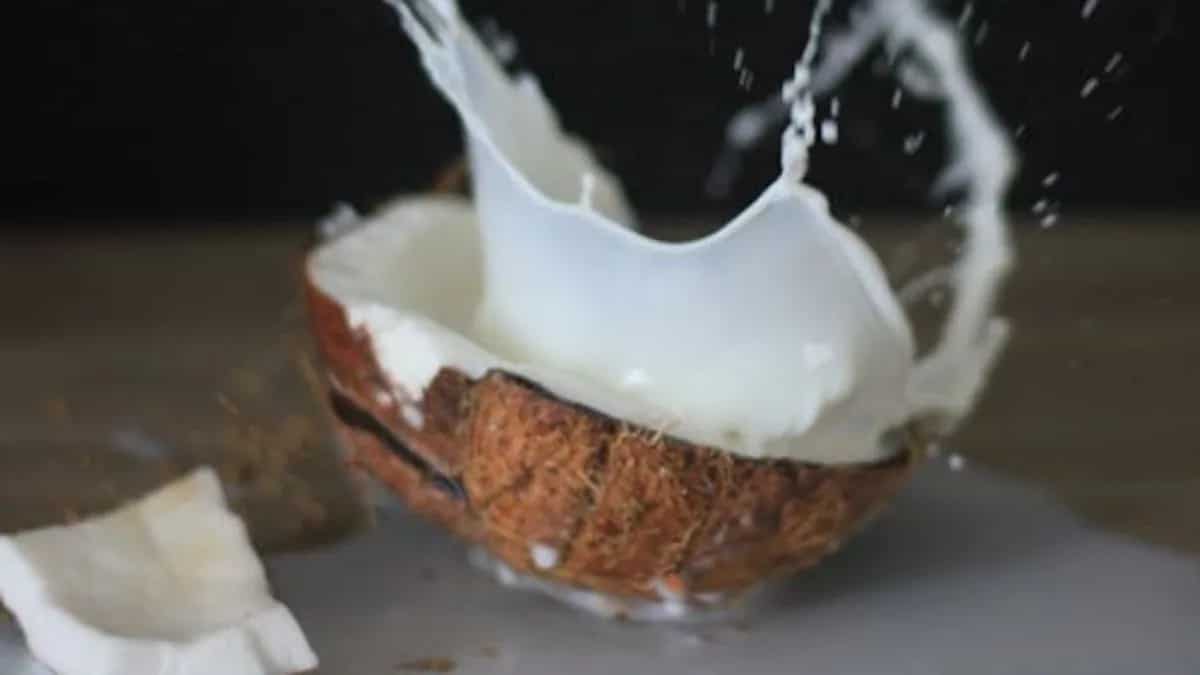
The secret to a rich milk starts with choosing the right coconut at the market. You want a mature coconut that feels heavy for its size and sloshes loudly with water when you shake it, as this indicates thick, oily white flesh inside. Once you crack the shell open, pry the white meat away from the brown husk using a sturdy knife. You do not need to spend ages peeling away every bit of the thin brown skin on the back, as the powerful blades will handle it easily. Just give the coconut chunks a quick rinse under cold water to remove any loose debris, then chop them into small pieces roughly the size of a coin so the machine can process them evenly.
Image credit: Pexels
The Importance Of Low Heat
The biggest mistake beginners make when using a heated appliance is letting the liquid get too hot during the cycle. Coconut milk is highly sensitive to temperature because excessive heat causes the delicate oils to separate from the water, leaving you with a curdled, watery mess. When setting up your appliance, always select a gentle milk cycle that hovers around forty degrees Celsius. This mild warmth is just enough to dissolve the stubborn fats locked within the plant cells, ensuring a smooth integration without accidentally cooking the milk. If your machine does not have a dedicated low-temp setting, use brief pulses with pre-warmed water to achieve a similar stable result.
Image credit: Pexels
Achieving The Perfect High-Speed Emulsion
Once your ingredients are inside the jar with the warm water, the mechanical action takes over to create the actual milk structure. The real advantage of a modern machine is its ability to spin at massive velocities, which shatters the coconut pulp down to a microscopic scale. This intense friction forces the natural fats to bind permanently with the water molecules, creating a stable creaminess that stays combined for much longer. Run the high-speed cycle for about a minute to ensure maximum extraction from the solids. You will watch the liquid turn from clear water into a bright, opaque white cream that looks identical to dairy milk.
Image credit: Pexels
Straining And Maximising The Yield
After the blending cycle finishes, the final step is separating the smooth liquid from the leftover fibrous pulp. Set a fine-mesh strainer or a clean nut milk bag over a large glass bowl and pour the warm mixture through it. Because the liquid is slightly warm, it flows much faster and more freely through the fabric than a cold paste would. Use the back of a large spoon to press the remaining pulp firmly against the sieve, squeezing out every last drop of rich cream. Pour the finished milk into a clean glass jar and let it cool completely before sealing it up for the fridge, where it will stay fresh and ready for your morning smoothies or evening curries.
Image credit: Pexels