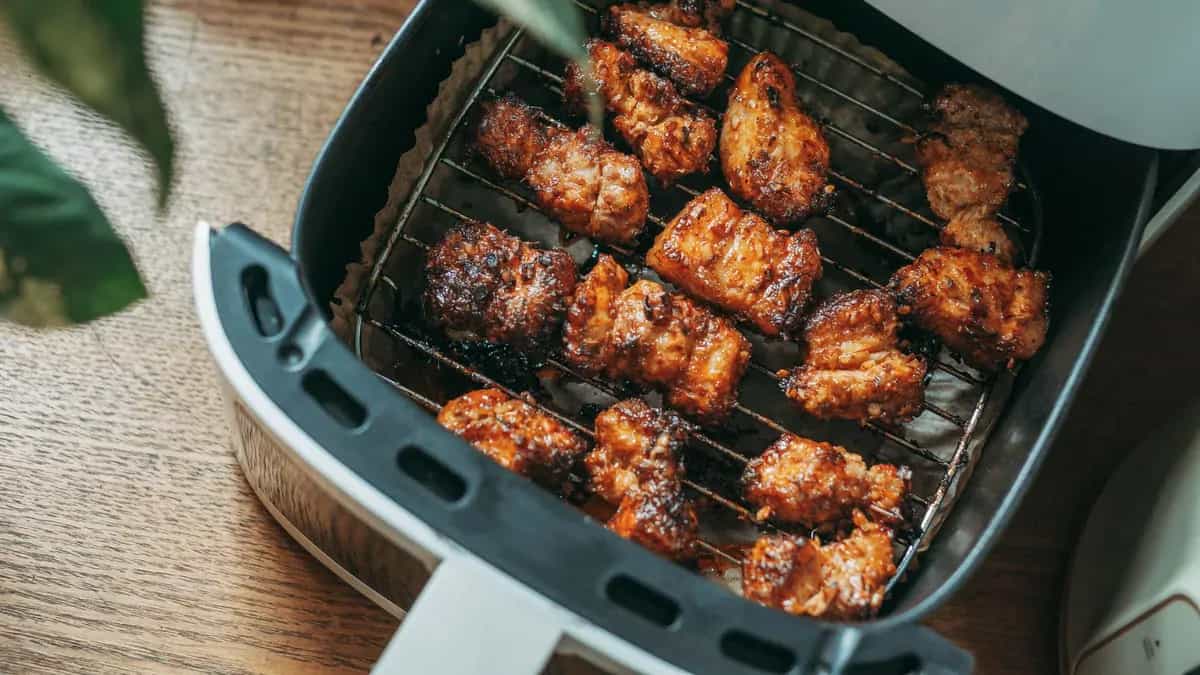
The first week with a new air fryer is all promise: a hiss of hot air, cumin blooming on aloo wedges, yesterday’s pakoda regaining a crackle. Then the irritations show up—two batches for one dinner, oil beading into a corner you can’t reach, a handle that flexes.
This guide is built to prevent that. Buy for usable single-layer basket area and cleaning ease first—then use wattage and features to fine-tune.
How To Pick The Right Air Fryer
Who this is for (India, 2026): first-time buyers and upgraders in urban homes (often small kitchens, frequent snack use, mixed veg/non-veg routines) who want faster weeknight cooking, reheating, and lighter frying.
Primary decision rule: choose based on usable single-layer basket area + cleaning ease. Then refine with wattage and controls.
Quick glossary (plain English):
- Marketed litres: the box’s volume claim; it doesn’t tell you how much brown you can have at once.
- Usable capacity: what fits in one layer with small gaps so hot air can hit surfaces.
- Basket area / single layer: the base space where crisping happens; stacking turns crisping into steaming.
- Wattage: heater power; mostly affects heat-up and recovery.
- Presets: shortcut buttons (not “auto-cooking”).
- Preheat: warming the chamber before food goes in.
- Shake/turn: moving food mid-cook for more even browning.
One-line warning: don’t buy by litres alone—you can end up with a “big” air fryer that still forces multi-batch cooking.
Step 1 — Size That Actually Fits
Air fryers cook best when food sits like tiles, not a heap. The base width matters more than tall volume.
| Your household | Usable single-layer batch (rule of thumb) | What to look for | Who should size up |
|---|---|---|---|
| 1–2 eaters | Snacks/veg for one round; 1–2 portions | Compact footprint, wide base, easy-to-wash basket | You meal-prep or host |
| 3–4 eaters | One protein or one side per round, with spacing | Wider base, sturdy handle, good vent clearance | You want leftovers or hate multi-batch cooking |
| 5+ eaters | Family portions often still need batches unless the base is very wide | Maximum basket area or dual-basket, strong service support | You cook veg/non-veg back-to-back |
3 quick fit tests (in-store, or via inner-basket measurements online):
- Roti/pizza diameter check: can a 9–10 inch base sit flat without riding up the sides?
- Protein one-layer check: can you place 4 medium chicken drumsticks in one layer with small gaps? (Veg option: 18–24 paneer cubes around 1 inch each.)
- Mixed-veg check: does one medium bowl of cauliflower + capsicum + onion spread into a single layer, or become a mound?
Decision rule:
- If you routinely cook for 3–4 or want leftovers, size up one tier.
- If you mostly snack for 1–2, prioritise a size you’ll keep accessible—and easy cleaning over extra volume.
Caution on oversized models: more counter clearance, slower/less satisfying for tiny batches, and they tend to become cupboard appliances.
Step 2 — Wattage & Performance
Think of wattage as how quickly the machine can get hot again after you load food, not as a crisping guarantee.
Typical wattage ranges (broad):
- Small/compact: ~900–1300W
- Mid-size: ~1300–1700W
- Large/many oven-style units: ~1600–2200W
What wattage changes: faster preheat and better heat recovery when you add fridge-cold or frozen food.
What it doesn’t guarantee: crisping if airflow is blocked or the basket is crowded.
Airflow + spacing still wins (one glance test): a raised crisper plate and a basket that lets air move under/around food helps moisture escape; that matters more than an extra 200W on paper.
Electricity cost: one simple example (use your tariff)
kWh = (watts ÷ 1000) × hours
- 1500W for 20 minutes = (1500/1000) × (20/60) = 0.5 kWh
- Cost = 0.5 × your ₹/kWh (use your latest bill’s slab).
If “lighter cooking” is part of why you’re buying, you can also check calories and macros for your usual air-fryer snacks.
Step 3 — Type & Controls
Basket vs oven-style: choose by your routine
- Basket-style: best for fast, repeatable crisping (fries, cutlets, gobhi, wings). Usually fewer parts to wash.
- Oven-style (door + trays): useful for toast/trays and more surface area—often with more corners, racks, and wipe-down time.
Manual dial vs digital controls (what actually matters):
- Manual (dials): simple and quick; prioritise a clear temperature range and a timer you can set precisely.
- Digital: easier repeatability; prioritise readability and buttons that aren’t laggy or overly sensitive.
Must-have vs nice-to-have (lean list):
- Must-have: adjustable time + temperature, auto shutoff, non-slip feet, and a handle that doesn’t flex when pulling a loaded basket.
- Nice-to-have: shake reminder; window/light (less opening, more cleaning); dual baskets (veg/non-veg separation or different doneness); app control (usually skippable).
Presets (one line): presets are convenience labels—you’ll still adjust for batch size and moisture.
Step 4 — Cleaning, Durability, And Indian Cooking Realities
Most long-term regret isn’t about cooking—it’s cleaning you didn’t picture. Indian marinades and masala drips can bake on fast, especially with sugar or dairy.
Pre-buy cleaning checks:
- Basket and crisper plate should be fully removable, easy to reseat, and not feel flimsy.
- Prefer fewer crevices: tight grids trap cooked-on paste.
- Check the grease path: does oil drain away, or pool where it can smoke?
- Confirm you can wipe the interior safely—no “needs disassembly” designs.
Dishwasher-safe vs hand-wash reality:
- “Dishwasher-safe” can mean specific parts only—verify in the manual.
- Frequent dishwasher cycles can shorten some non-stick coatings; gentle hand-washing is often kinder.
Non-stick care rules (to prevent peeling/odour):
- Use silicone/wood tools; avoid metal.
- Skip abrasive scrubbers; for stuck bits, soak warm soapy water, then wipe.
- Dry thoroughly before storing (moisture + crumbs = smell).
- Be cautious with aerosol cooking sprays: some leave residue that bakes into a sticky film—switch to brushing oil if buildup starts.
Smoke/smell management for Indian cooking:
- Sugary coatings (jaggery, honey, many bottled sauces) brown fast—use a thinner coat, lower temperature, or add sugar late.
- For wet marinades, pat-dry so drips don’t hit hot metal and smoke.
- Foil/liners: use only if they don’t block airflow or cover plate holes; keep them secured so they can’t lift toward the heater.
- Ventilation: run an exhaust, crack a window, keep vents clear of the backsplash.
Serviceability checklist (India-specific):
- Ask if spare baskets/crisper plates are available and typical delivery time.
- Read warranty exclusions—coatings are often wear-and-tear.
- Confirm service presence in your city (not just “India-wide” in ads).
If you’re torn between two similar options, ask the Slurrp community which model they use and how it holds up—service varies by city.
Step 5 — Save & Screenshot
Kitchen fit
- ☐ Footprint fits where it will actually live
- ☐ Clearance around vents; not jammed against a wall/backsplash
- ☐ Cord length reaches a safe socket (no tension, no path across the stove)
- ☐ Storage plan if it won’t stay on the counter
- ☐ Noise tolerance for your home (fan sound in a small flat is noticeable)
Safety & compliance (consumer checks, not guarantees)
- ☐ Look for BIS/ISI marking and clear manufacturer/importer details
- ☐ Auto shutoff present and easy to understand in the manual
- ☐ Stable handle; unit doesn’t tip when you pull the basket
- ☐ If the brand claims “cool-touch/heat-resistant,” verify in the manual and reviews
- ☐ Child/pet-safe placement (handle and hot exhaust away from reach)
Warranty & support
- ☐ Warranty length is clearly stated
- ☐ What’s excluded is clear (especially coating)
- ☐ Service centres/authorised service in your city
- ☐ Spare parts you can actually buy: basket + crisper plate (and handle assembly if applicable)
Day-1 test plan (keep receipts until you pass)
- ☐ Capacity test: fries or a single-layer mixed veg (gobhi/capsicum/onion) without piling
- ☐ Crisping test: paneer tikka cubes or chicken wings/drumsticks—check after one shake/turn
- ☐ Cleanup test: cook something lightly oily, then wash basket/plate once; if it’s already annoying, it won’t get easier
Tie-breaker rule (when you’re between two sizes/features): pick easier cleaning + larger usable basket area over more presets or a fancier display.
Conclusion
Remember this: single-layer basket area + cleaning friction decides whether an air fryer becomes a daily tool or a cupboard guest. Wattage and presets are secondary.
If you’re stuck between two options, break the tie in this order: easier cleaning → wider usable base → better service/spares.
When you’re ready to cook your first real batch, start with air fryer-friendly recipes to test after purchase.
Some parts of this article were created with AI assistance.