How To Make Croissants: Step-By-Step Tips For Perfect Layers
Few things in baking inspire as much devotion and frustration as the croissant. When you break open a croissant, it should crackle and scatter golden flakes across the plate before you bite into the buttery inside. The unique structure comes with practice and, of course, certain guidelines. If you’re a home baker trying to master a flaky croissant, here are some step-by-step techniques you need to follow to ace that bakery-like texture.

| Garima
Jun 16, 2026
![]() Share
Share ![]()

Keep Everything Cold
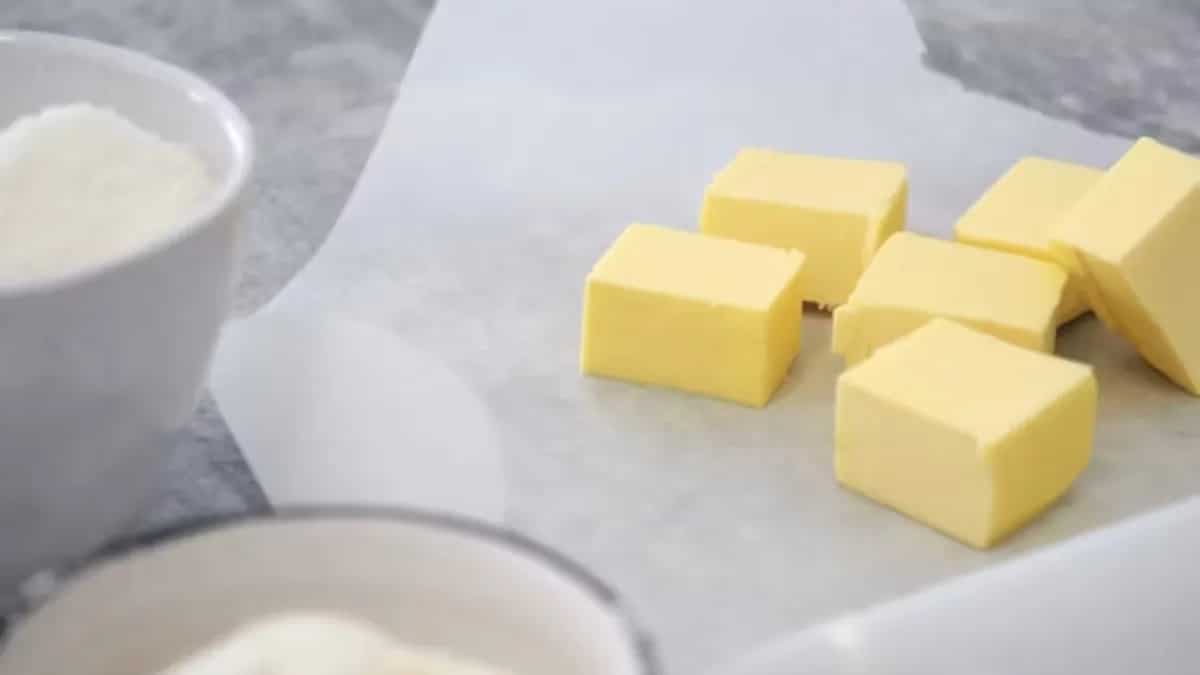
Temperatures matter most while making croissants. The butter has to stay firm but bendable so that it never melts into the dough. It’s also recommended that you work in a cool room and refrigerate the dough for at least half an hour between each fold.
![]() Share
Share ![]()
Strengthen The Dough
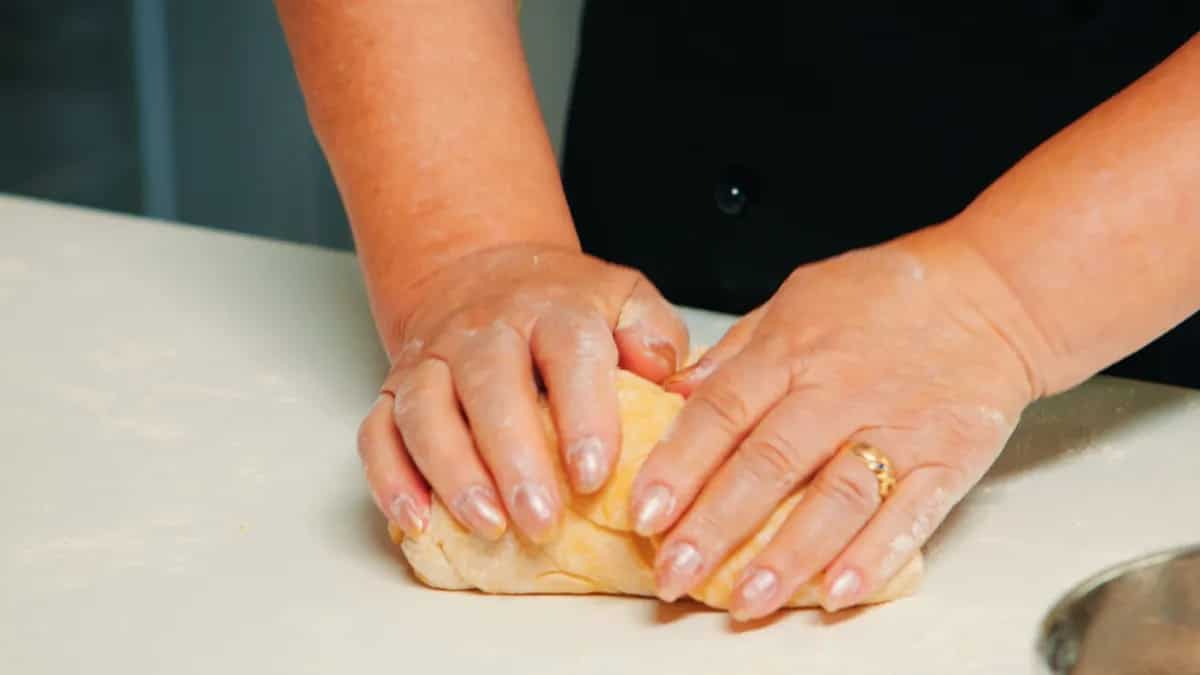
The base dough, called the détrempe, needs enough gluten to stretch without tearing, but not so much that it springs back and shrinks every time you roll it. Mix the ingredients together till everything comes together, and resist the urge to overknead the dough. Rest the dough overnight in the refrigerator to help relax the gluten, thereby firming the dough till it matches the butter block.
![]() Share
Share ![]()
Master The Fold Pattern
Lamination is folding butter and dough together until the layers multiply. Once your butter block is sealed inside the dough, you roll and fold it, usually with three-layer folds, tucking the dough into thirds like a letter into an envelope. It’s best to write down each fold as you complete it, since losing count partway through is an easy mistake that throws off the structure.
![]() Share
Share ![]()
Roll And Wait After Each Fold
The entire magic of croissants lies in the neat folds. To get a puffy and flaky croissant, when you fold the buttery dough, give it a minimum of thirty minutes before making the next fold. Keep it in the refrigerator for that time, which will prevent the butter from melting and keep the dough set with all the layers intact.
![]() Share
Share ![]()
Shaping And Proofing
Cut triangles to a consistent size so every croissant bakes at the same rate. Stretch each triangle gently before rolling. Roll from the wide base to the tip with even tension, without squeezing the dough or sealing layers that should stay separate. After you’re done with all the folds, the croissant needs to proof, i.e. rise in a warm environment. This process helps activate the yeast and lets the dough expand, giving the croissant an airy texture.
![]() Share
Share ![]()
Bake And Judge By Colour
Brush the shaped croissants with egg wash before baking for shine and colour. Bake until they are a deep golden brown everywhere, including the sides and bottom, not just across the top. A pale croissant is almost always underbaked inside, with gummy layers near the centre. Leave the oven door shut for the first 10 minutes, since opening it too early can drop the temperature and flatten the layers before they finish setting.
![]() Share
Share ![]()